Saturday, December 24, 2011

Week 9 Cricut Challenge

 Merry Christmas to you all, I hope you're enjoying this beautiful holiday. Last night we all sat on the couch and watched Rudolph The Red Nose Reindeer. My kids had their Rudolph and Clarice hats on. They looked so cute. It's amazing how this movie no matter how old, doesn't get old.

 This weeks challenge is called Letters to Santa. I have some pics of my kids writing a letter to Santa, well at least they were trying to write, since they don't know how to write. But it was cute to see how they were trying.

In this weeks challenge I used the following carts:
Paper Lace for the Letters to Santa cut-outs
Christmas Cheer for the Scroll
Calligraphy Collection for the writing on the scroll (used with Cricut markers)

I also used Martha Stewart's punch to add underneath the ribbon. It's a simple layout, but I think it's cute.


 I hope you like this weeks challenge. Merry Christmas and Happy New Year to you all. Stay safe

Thanks for stopping by
Lisa

Sunday, December 18, 2011

Cricut Challenge week 8

  Hello there everyone, I hope you are doing good on this rainy Sunday morning. This week I made a cute layout. It was inspired by my Mother-in-Law. When she watches my kids, she has the tendency to feed the kids junk food ALL the time, despite my repeated request for her to not to. But I guess, it's her right as Grandma. Originally I was going to make this a sign, but changed my mind because I have some pics of my kids eating a chocolate cupcake. They ended up with chocolate frosting all over their faces. So what better way to scrap those pics.


 The cartridges that I used were:
Sweet Shop Lite for the sweats that are cut out
Alphalicious for the font

  My good friend Dawn also worked on this challenge with me. I find it much easier to do challenges when someone does it with you. It's more motivating and fun. Below you will find her interpretation of my challenge.

You can find more of her creations at http://scrappingthehappening.blogspot.com/2011/12/do-not-feed-kids.html


 I hope you like my challenge, so please leave me your comments.

 I hope you have a wonderful day and Happy Crafting

Thursday, December 15, 2011

Christmas Cards/ Giftbags

 Here are some of the few cards I made for myself and for some family to send out this Christmas Season. I wish I could say that these are my original designs, but they are not. I found these on a few different blogs and unfortunately I don't remember them at this time. I will look for them so I can give proper credit to the person who's blog I found them on.
This one was fun to make, I used holographic embossing powder for the trees. I have recently become a big fan of embossing powders. I just love the finished look they have.


 This one was pretty simple,what took the longest was to color in the stamped image. I originally made a set for my mother but then later she called and asked for me to make more. It was a good thing I didn't put my supplies away yet.


This one was pretty simple too. I made these for my Mother-in-law.

 I decorated these simple craft gift bags. I used a snowflake punch and a bling for the center of the main snowflake. I also used a fun software to make a kaleidoscope ornament out of pictures I already had on my computer. Their software is called Kaleidoscope Kreator 3. Its a really fun and simple way to have creative fun with your pictures.
 Here is a close up of the ornament.

 I made these gift bags for some of my very best crafting friends. We are meeting on Monday for a lunch date before we all get too busy with the holidays and our own families. I hope they like them.


Thank you for stopping by today, I hope you have a wonderful day.

Tuesday, December 13, 2011

week 7 Cricut Challenge update

 Well my friend Dawn got her project done and here it is.  I think it came out so good. Dawn you did a great job on this, I am certain that Chris is going to love it.

You can find more of Dawn's work on her blog and facebook fan page. Here are the links, Please stop by and leave her some love.

http://scrappingthehappening.blogspot.com/

http://www.facebook.com/#!/pages/Memories-are-a-Scrap-Away/222523247817702


Here is a cute Crafters Christmas poem I found on Facebook , Thought I would share it with you my crafty friends.


Twas the night before Christmas, I'm glued to the tree.
I'm wonderin what Santa, brought just for me;

...
Could it be cardstock or chipboard or lace?
or a cricut? i said with a smile on my face!

And that's when i heard him...''HI SANTA,'' i said.
''you know good little girls should be in their beds''.

I know i should Santa, and now I've been caught!
but i was excited, to see what you brought.

Well, lets take a look in this room where you work.
he shook his head quickly and left with a jerk!

I heard him exclaim as he put it in gear...
you've got enough crap, I'll see you next year!

Monday, December 12, 2011

Week 7 Cricut Challenge


 Hi there everyone, I hope you are all doing well and surviving this Holiday season.  I have been trying my best, but both of my kids have been really sick and finally on their way to recovering.

  My friend Dawn sent me a S.O.S. text last week. She needed my help, so I ask what can I help her with. Well she is working on a project for her husband and needed a St. Louis Cardinals symbol.

 So I got my trusty Gypsy and started to work on it. The white portion was actually easy, just a little welding and dashes added and welded to try to match it as best as possible. The real challenge for me was to create a shadow for it. I had to add all the welded dashes but also proportion it to shadow it correctly. The shadowing didn't come out as perfect as I would like it to be, but it worked for what she needed. I hope her project comes out perfect. I will ask her to send me pics so you can see her finished project. I will post it as soon as I get it.

The Cartridge I used is Printing 101

  I do have a project in mind for next week, it will be a cute and fun one.

Thank you for stopping by and have a wonderful day. See you soon
Lisa

Sunday, November 20, 2011

week 6 Cricut Challenge


 Good morning to you on this beautiful Sunday. This week I decided to attempt to make something I saw on the Facebook page of Cricut magazine. They featured the work of Crafting with Katie. She made this beautiful Thanksgiving wall hanging with her Imagine. Well I don't own the Imagine, so I decided to attempt it in vinyl. This vinyl cut is one that you must have patience and time. It took me about 1/2 an hour just to weed it out. The hard work definitely paid of because now my neighbor has a great gift. I did meet up with some crafting friends and we all made this, they all added their own special twist to the hanging. They all came out beautiful.

 The cartridges that she and I used are:
Word Collage Projects cartridge for the collage
Paper doll Dress up for the Tree
CTMH Art Philosophy for the leaves.

 Please visit Cricut Magazine and Crafting with Katie's blog and give them some love.

The next project was a very fun and easy. This year me and my kids are going to make ornaments together. So I decided to try it for the first time. I bought some plain glass bulbs at "M" they were very cheap 6 for $2.50 on sale. I didn't have the specific medium to add glitter for the inside so I decided to try Elmer's spray adhesive. It worked great for the glitter. What you do is spray the inside with a generous amount of adhesive. slosh it around until it is evenly covered and pour out the excess adhesive. Then you pour your glitter inside and shake it all around ,you do the hoky poky and you turn your self around that's what it's all about, lol oops got carried away, sorry I'm having fun. The kids are singing that while I type.  once the glitter covers the entire inside of the bulb, pour out the excess glitter. let it dry.


 I decided to decorate it with vinyl and some bling. I made this with Base Camp for the font and Cricuts A Child's Year for the snow flake.

 I hope you like my projects this week. I would love to read your comments.

I wish you a great Thanksgiving Holiday


Talk to you all soon.

Sunday, November 13, 2011

Week 5 Cricut Challenge


Good morning and Happy Sunday to you all again. This weeks challenge was pretty easy for me. A good friend of mines children are celebrating a birthday. The party is monkey themed,so with that I chose to use Cricut's Create A Critter cartridge. We will be attending their birthday party this afternoon, I am sure the kids are going to have a blast monkeying around hehehehe. I put the single page layout in a shadow box that I purchased at Michael's. The frame looked just a little to plain for me, so I decided to bring it to life. I got some scrap vinyl and made just a few stickers for the outside. I love how it turned out. I hope the Birthday kids love it, and their mother too. I might just have to make another one for my 2 little monkeys lol.


 Here is my second project. My good friend Teri Schoeni from Heart2Home made a glue holder for me. I think she got tired of me complaining that my glue always tips over on me when I stand it upside down. So she came up with this great holder for me. When I got it, it was just raw wood. I tried several attempts to decorate it but it just didn't look right to me. Well it would help if I also new what I was doing when decorating wood. So I finally had a light bulb moment and figured it out. once I got it covered with paper, I decided to add a little vinyl touch to it. I love vinyl, can you tell. I used Gypsy Wonderings on my Gypsy. I cut a silhouette of a boy and a girl to represent my kids. I also cut Inspire, well because I like to get inspired when I'm crafting. and the last one is Bliss, because crafting is blissful to me. I just love my new holder. I like that I can use several different types of bottles of glue and stickles. Thank you Teri. You can find a link to her Etsy shop at the bottom of my blog.


Thank you for stopping by and visiting my Blog. Have a wonderful crafty day.

Sunday, November 6, 2011

Week 4 Cricut Challenge


 Good Morning to you all and happy Sunday.  Last week-end I went to the Rubber Stamp and Scrapbook Expo and I was able to get the new Close to my Heart Art Philosophy Cricut cartridge. It's such a beautiful cartridge and I'm really glad that I got it.
 So my mother needed a retirement card for a friend of her. So I decide to make the sample card from the AP cart. Very very easy to make. The flowers were a bit tricky to work with but once I did the first one, the second one was easy. I would recommend using hot glue, otherwise you will be sitting there holding the flower together while the liquid glue dries. The only things I changed a bit was, I made it a retirement card instead of a birthday card and I added yellow pebbles from Heart2Home (Teri S.) to add a little dew like effect in the center of the roses. I inked all of the edges with SU Crumb Cake ink.
 I hope my mom's friend likes the card.

On a side note I also made a decal for my husbands tool box in the garage. So I played with some shapes to come up with this decal for him. I'm sure you will all recognize the symbol. lol


 OK so for this decal I used George and Basic shapes for the circles, Makin' the Grade for the slats, and Plantin Schoolbook for the Jeep. I love to make decals, but Cricut doesn't always have the image I want, so I have to kind of make my own. I love doing that because it really makes it a challenge and its fun to play with my Gypsy.

I hope you like this weeks projects, see you soon.


Sunday, October 30, 2011

Week 3 Cricut Challenge


  Hello there, and Happy Sunday to you all. Today was the Rubber Stamp and Scrapbook Expo. So I got to go with a good friend of mine Teri S. from Heart2Home. We had fun, and we both went home with lots of goodies. I can't wait to play with them.

  Here is my third week Challenge project. I made this for a friend of mines baby daughter. I haven't given it to her yet, so I hope she likes it and it's still a surprise.

Cartridges I used were Home Decor, and Word Collage. Word collage is a fun cartridge to use with Vinyl. There are so many different choices of collages. I already got an order for 2 wall hangings. Yay!!!! I also used Martha Stewart's Large Monarch Butterfly punch. I also used some packaged flowers, because I ran out of time to use my Flower Shoppe Cartridge. But there is always next time.


 I hope you like my project this week.

Thank you for stopping by, and Happy Crafting.


Monday, October 24, 2011

Faith Community Lutheran Crop


 This was an amazing week-end for me. I had the opportunity to attend the Faith Crop again. Thanks to my wonderful husband. He stayed home with the little ones while I got to go play for 2 days.

 The layout above was a make & take from Teri Schoeni. It was a single page layout, hers is the 1 on the left side. I decided to make it a 2 page layout. She was nice enough to give me her scraps so I could put the second page together. She is a very talented crafter. Thanks Teri


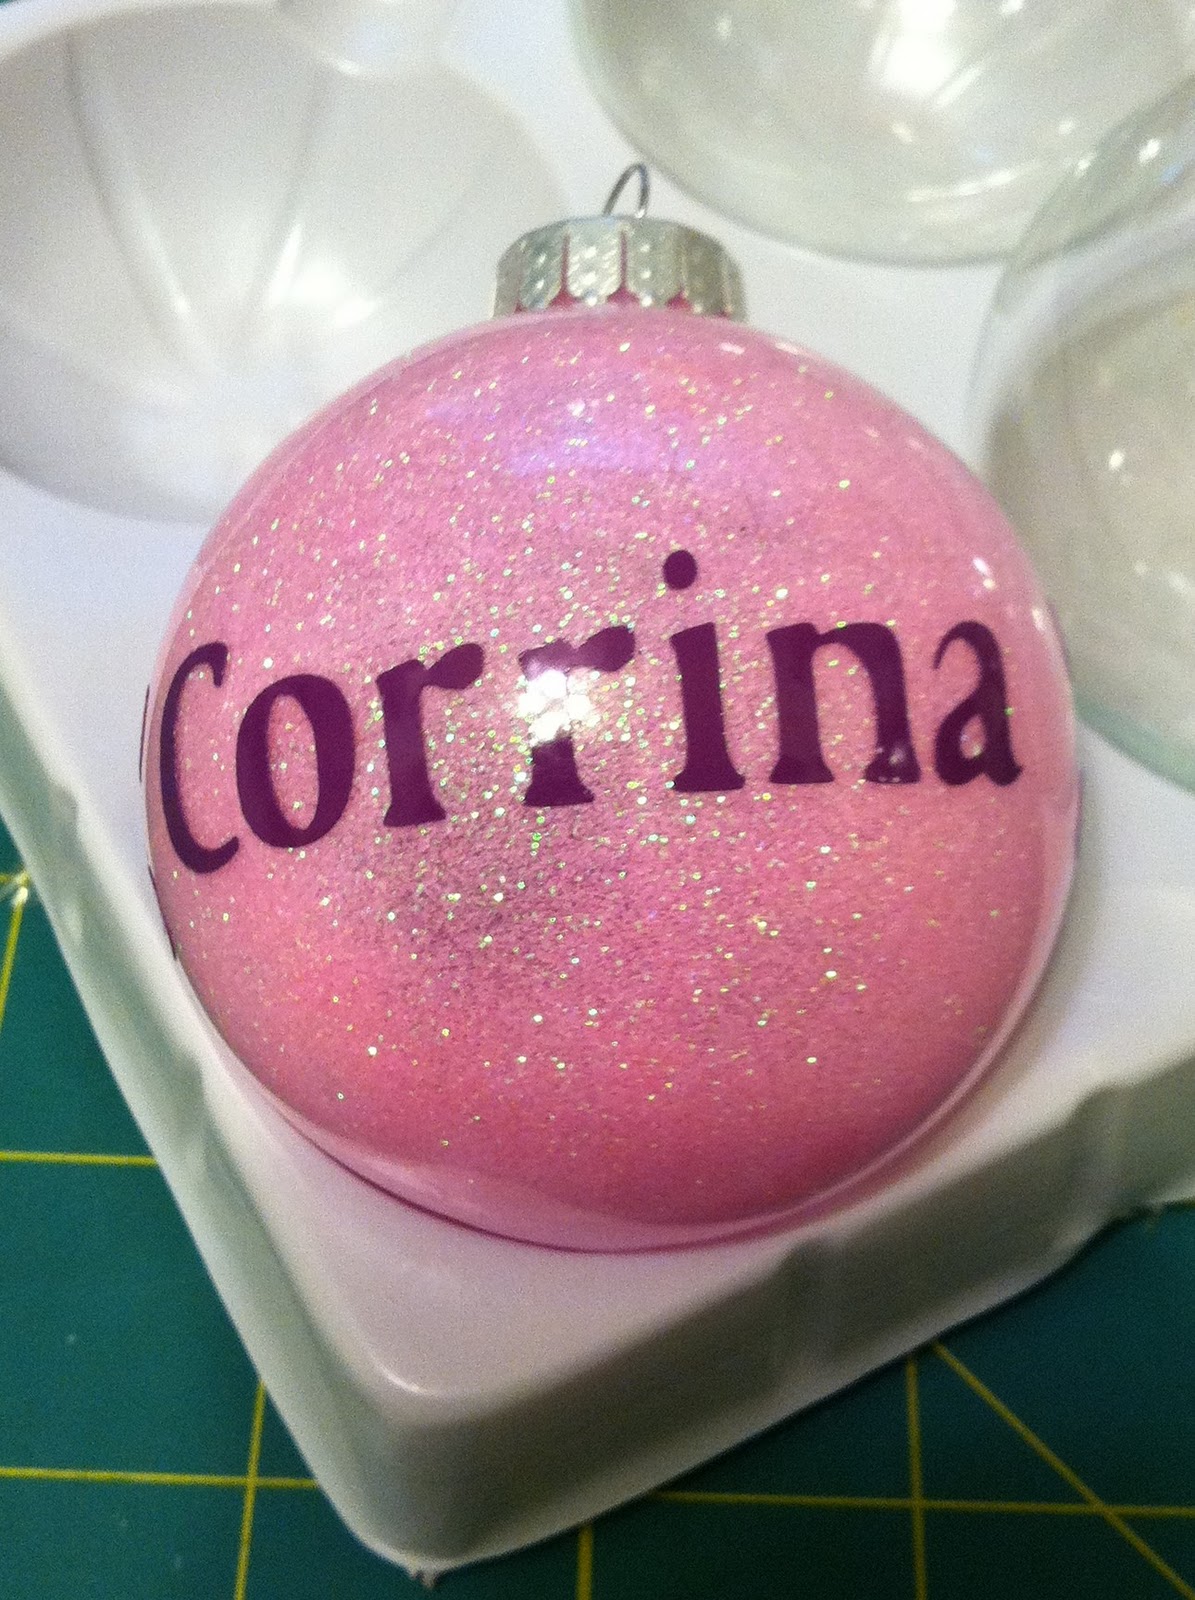
 These 2 layouts are from Janet Coppens from Creative Memories, They were super easy to make and fast too. The second layout, I decided to add some of my pictures to it of my 2 little ones. Corrina was learning to walk just before she turned 1 year old. when she made it up to her feet at the end, she was holding on to Anthony and for a brief second they were dancing together. Just too sweet.


This single page layout was Gina Julians from Croppers Nook. This was her make & take. super easy and very cute.

This was one of mine. This is of my Daughters 1st birthday. It took me forever to make this,
I think it's because I was just talking too much. lol oh well, that's what crops are for right, socializing.


  This was another layout I did, not to happy with it but here it is. It's just of us 4 in our everyday life. simple.


 This was my last layout I did. I think it came out really cute. It's of my husband and my daughter just being silly. Corrina was having the really deep belly laughs, which in turn made me laugh too. This was a fun day to watch my husband play with Corrina.  I made some faux bows, which I got the idea from youtube. I can't tie a bow for the life of me lol. I also added some beautiful decorative pins by Teri Schoeni from Heart2Home.

  That's it for my crop accomplishments. I had such a great time, can't wait for the next one in February.


 Thanks for stopping by, and have a great Crafternoon.

Sunday, October 23, 2011

Cricut Challenge week-2


  Good Morning and a Very Happy Sunday to you all. This week-end has been absolutely great. I got to go to a 2 day crop and had a great Mommy's 2 days off. I got a lot accomplished. I will share pictures of that later.  So I was really Motivated to create my 2nd weeks challenge. While my Husband watched football, I sat next to him with my Lovely Gypsy. I designed the entire layout using the Layers feature. I separated each cut by color then cut it all with the E-2. The Cartridges I used were:

3 Birds on Parade- for the moon,I inked the edge with Only Orange Ink to give it dimension.
Happy Hauntings-for the bats and the Happy Halloween
October 31st -Spider,Tree,Cat,Witch,Gates and tombstones
Chic & Scary for the pumpkins
Plantin SchoolBook - Grass

 The pumpkins were a last minute add on because I received the cart in the mail lol. They are not adhered to the page yet because I'm not sure if I want to keep them on it or not. I did take a picture without them, but it came out too blurry and I'm on a time limit here. Yes I know I'm addicted to Cricut Carts, well with crafting in general.

 I hope you like my Layout and challenge for this week.

 Thank you for stopping by and have a Crafty afternoon.


Sunday, October 16, 2011

Cricut Challenge week-1


  Good Morning and Happy Sunday to you all. Sorry this is late today, But we were having a yard sale, trying to clear up some room in our garage.
 This is my first project for my Cricut Challenge. I decided to use the Dude Lite Cartridge for this challenge. My little brother is having a birthday here in a few days and he is really into skateboarding. That is what motivated this use of the Dude Cart. I cut the skater at 3", Extreme @ 3',and the ramp at 2". The skater and the ramp were a real challenge because the lines are so fine and delicate. I had to re-cut those 2 several times until it would cut perfect with different settings.

For the inside I used crocheting cord in black to give it a bit of a break up from the gray. I also added "Happy Birthday" cut from the Beyond Birthday Cart at 2".
 I layered all the images in several colors to give it some dimension.

The card base is from Bazzil paper in Gray texture. I cut it down to 81/2"x 12", I scored it at 51/2" and 11". I also used the left over strip to create a handy money pocket. I also used Stampin Ups Basic Gray Ink pad to ink the edges of the card. I used red-lined tape to adhere the strip to the card. I also used Stampin Ups large oval punch to create an opening for the money.
  I hope  you and mainly Chaz likes my card. Looking forward to week 2 of my challenge. I'm not sure which cart I will feature, but I will let you know as soon as I decide on one.


Thank you for stopping by and have a Crafty Day.

Saturday, October 15, 2011

Cute Christmas Stocking gift tags


 Good morning and Happy Saturday to you all.  I have a quick post for you today. I was fortunate enough to have a little craft time last night. So I made these really cute Christmas gift tags last night. I used the new Stampin Up Holiday Stocking Die, Mini Jingle Bells,Early Espresso
& white twine. DSP.brads.
 I think these will add a touch of elegance to any gift. I hope you like them.

I will post my weekly challenge Cricut cuts tomorrow, so come back and check it out.

 I hope you have a great week-end and Happy Crafting to you all.

Tuesday, October 11, 2011

Cute nugget Halloween Box


Oops I was supposed to post this the other day on my blog, and I posted it on my Facebook fan page. Sorry guys. These really cute nugget boxes are for my kids pre-school teachers and for their karate instructors. I used SU's match box die and Bazzil paper, Batty punch by Su (retired but still avail. on clearance) and SU Gift Givers stamp set in the Holiday Mini catalog. I'm sure I'm forgetting something. And of course Hersheys Nuggets yum.

Sunday, October 9, 2011

Halloween Candycorn sticks


  Good morning and Happy wonderful Sunday to you all. I have had a great week-end, I am truly grateful for my life,family and kids.
 This last week I have been working on some candy corn sticks for my Moms students. She needed 60 of them. So I finally finished them all and when I delivered them to her she loved them so much, she asked me for more. So I get to stuff more candy corn sticks this week. Yay lol.

 I hope you all have a great week-end, and thank you for stopping by.

Wednesday, October 5, 2011

Birthday cards


 My wonderful husband had a birthday yesterday, so he is now officially my old man lol. But I love him dearly.  He is really into skulls, so I searched my Stampin Up stamps and paper and I found something that matched and had skulls on it. How cool is that. I did use some stickles in the eyes of the skulls to bring them out, plus I love stickles. 


A good friend of ours also had a birthday recently. Eddie loves aliens, so I made this card for him. Its a duplicate of a decal I made for his Jeep. I used some recollections Crew Brads to add a little masculinity to it. 


 I hope you like my cards. I am doing a give-away on my Facebook Fan Page, it's a set of 5 Halloween cards that I made. http://www.facebook.com/pages/Lisas-Crafts/190005824382478 
 To enter you must like the fan page (not the post)
and you must share my fan page on your Facebook wall. It's that easy, I will be drawing a winner Friday morning. Good luck.


 Thank you for stopping by, talk to you soon

Wednesday, September 28, 2011

Halloween Wreath


Happy Humpday to you all.


Lately I have seen a lot of these wreaths on many blogs and craft magazines. So I thought I would make one too, why not? I made this for my mother for her office at School. I hope she likes it.
 I used many different products:

1. Pink By Design SOTM "Guess Who"
2. Martha Stewart's Score board
3.Stampin ups markers
4. Stampin Ups Basic Black ink pad
5. Stampin ups Topenote and Bigshot
6. Various scrap strip paper
7. well I can't think of the rest, but there is more. lol sorry
8. Tim Holtz's medalion die
9. Colored pebbles by Heart2Home

I cut a 12x12 piece of chipboard in a shape of a wreath. Now for next time I will cover the chipboard with card stock before I start to add the medallions or Lollies. That way if there is a tiny gap, you wont see the naked color chipboard underneath it.


 Thanks for stopping by, see you soon

Saturday, September 24, 2011

Halloween treats for Pre-School


  Good morning everyone, I hope you are having a wonderful Saturday morning.

 Today's post is a cute fun and one for me. Since both of my kids have started Per-school, I am excited that I get to make crafts for the kids to share with their classmates. These treats are for Halloween of course. I used Stampin up cello treat bags that measure 1"x8" you can find those bags in the Holiday mini on page 11, #124134 $2.50 for 50 bags. I also used the Batty for You Stamp set #116576.

I hope the kids will enjoy my treats, I know me and my kids had fun making them.


Thanks for stopping by, have a great week-end

Friday, September 23, 2011

Cars Goody Bags for School


Good Morning and Happy Friday to you all.

Today's post will be very short and sweet lol

  I have noticed that when I take my son to Pre-school, all the little boys have something that is related to the Disney Movie Cars.  Since I have been on a creative streak lately, I also made some goody bags for his classmates at school. I know the boys will love it for sure, since it has Cars characters on it.


    I hope you all have a great week-end, Thanks for stopping by.

Thursday, September 22, 2011

"Wanted"


 Hello and Happy Thursday to you all.  I have been working really hard on my sons invites, goody bags and Thank you cards for his birthday in early October. We are really excited this year, because we are going to fulfill his dream of becoming a Cowboy. We are going to go horseback riding as a family for the first time. This is going to be an exciting experience that I just can't wait for.

 I was sitting around with some of my crafty friends and told them about Anthony's party. So the next thing I know, I received a picture text of a sample invite. It was so cute, I asked Cecy if I could duplicate it, and she said of course. Thank You Cecy , you can find her blog her http://cecygarcia.blogspot.com/ She is a very talented crafter.


  I did add a few things to it though. My son just simply loves Mator from the movie Cars, so of course I had to add him on his invite. I also added 5 horses to represent him turning 5 years old. I also added some sewn in rope to give it a little more of a western feel to it. I just love how they came out.

Because this is a Horseback riding party/park party I added some Tim Holtz tickets with the same horse punch and I also used my Pink By Design western stamp set(not sure what its called duh!!)
So I added tickets to some of my invites, unfortunately I was not able to put them in all the invites, due to limited horse availability (and funds too).

  I did have left over card stock, so I decided to make matching goody bags for all the kids. I also used my new Pink by Design stamp set. I love them, they are way too cute. I did use the same rope to make sure they matched my invites.


 I also had enough of the matching card stock left over to make thank you cards. I also added some of the same horses on because they are just way too cute.

  I have been working on these for the last 3 weeks, and I can now say I am done and ready to celebrate his birthday. My son is growing up so fast, but I am very proud of him and I love him so much. I will do anything to make him happy.

 I hope you've enjoyed my post today. Have a great day.


 Hope to see you soon
Related Posts Plugin for WordPress, Blogger...